

Lighting Setup for Attractive Photos: How to Create Professional Portrait Lighting at Home
AscendMax is the #1 face rating & looksmaxxing app. Join 100,000+ others on a mission to become the best version of themselves.


I used to think good portrait lighting required thousands of dollars in professional gear. Then I watched a photographer friend create stunning headshots using nothing but a single lamp and a white bedsheet. That moment changed everything for me. Turns out, the most flattering portrait lighting isn't about expensive equipment—it's about understanding how light falls across a face and working with what you've got.
Why Your Kitchen Window Beats Expensive Studio Gear Every Time
I've shot with $3,000 strobes and $200 softboxes, but honestly? My kitchen window at 10 AM still gives me the most flattering light I've ever found.
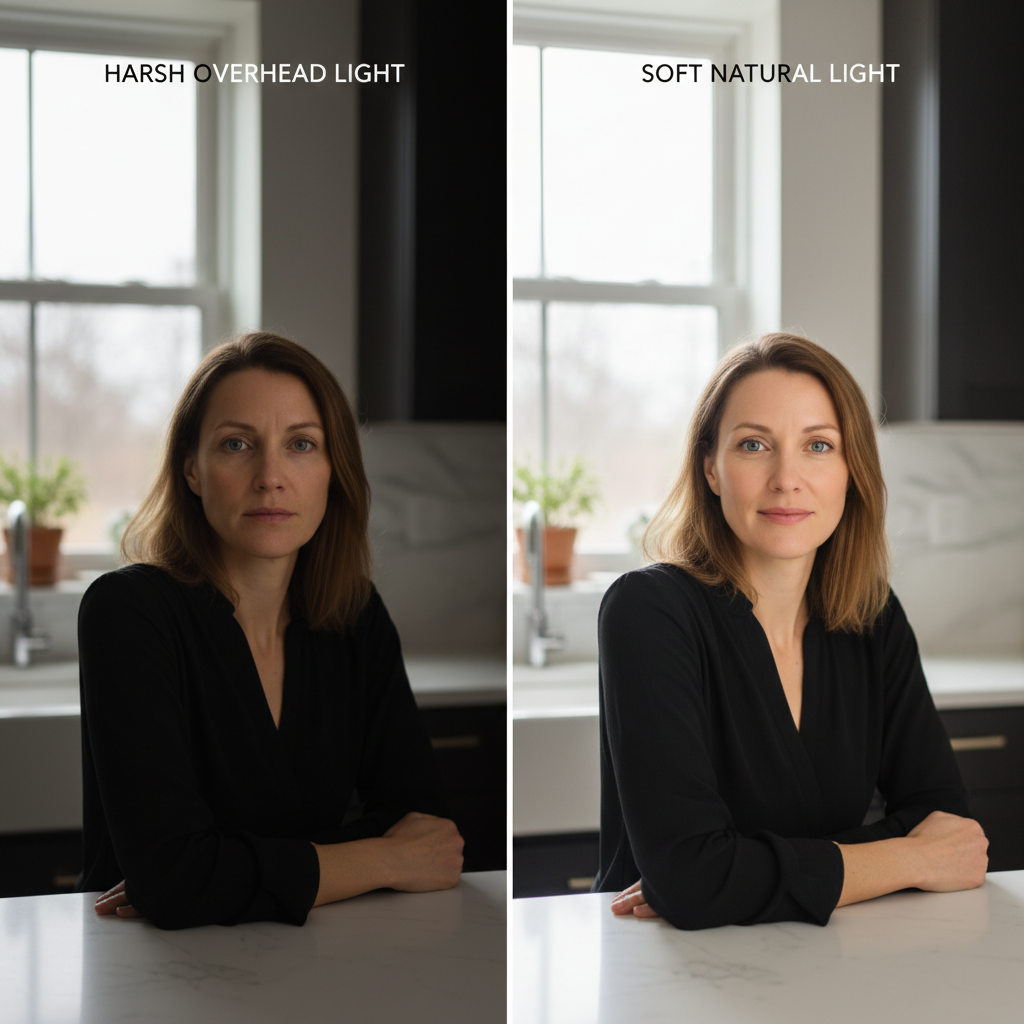
Window light is natural sunlight filtered through glass, creating soft, even illumination that expensive diffusers try to replicate. Unlike harsh direct sunlight, window light spreads evenly across your subject's face, eliminating those unflattering shadows under the eyes and nose.
The key is positioning. I place my subject about three feet from a large north-facing window – close enough for soft light, far enough to avoid harsh contrast. North-facing windows provide consistent, indirect light all day without those dramatic shadows that east or west windows create.
What really sold me: I can actually see how the light hits someone's face in real-time, unlike strobes where you're guessing until you chimp the LCD.
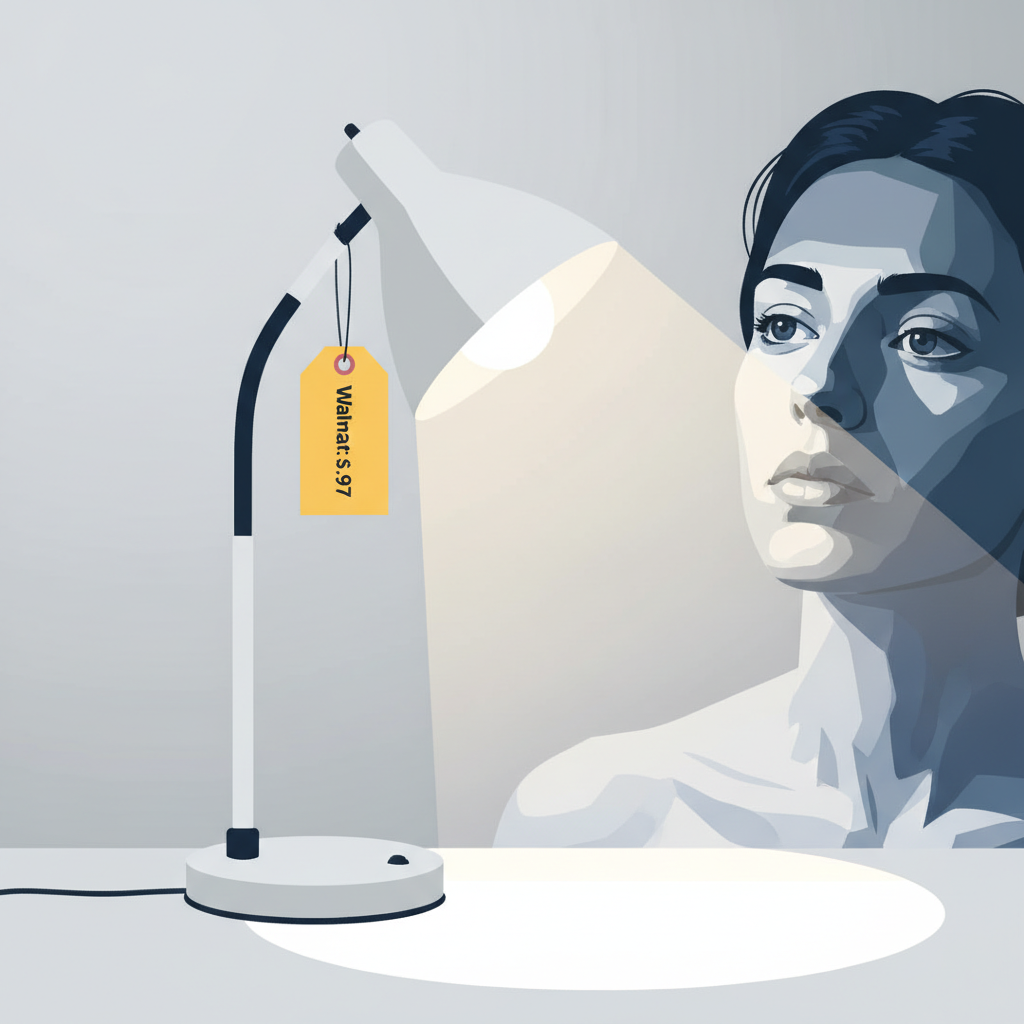
The $12 Walmart Lamp That Changed My Portrait Game Forever
I've blown hundreds on "professional" lighting gear that sits in my closet. Then I grabbed this basic desk lamp with a bendy neck from Walmart for twelve bucks and suddenly my portraits looked ten times better.
Common Mistake: Positioning the lamp straight-on like a mugshot Fix: Angle it 45 degrees to one side for natural shadows that actually flatter your face
Common Mistake: Putting it too far away because you think distance = soft light Fix: Keep it close but diffuse with a white bedsheet. I literally tape mine to the lampshade.
Fixing That Raccoon Eye Problem Without Buying a Single Light
I've spent way too much time editing out those dark eye shadows, so here's what actually works using stuff you already have:
| Window Light | Overhead Fix |
|---|---|
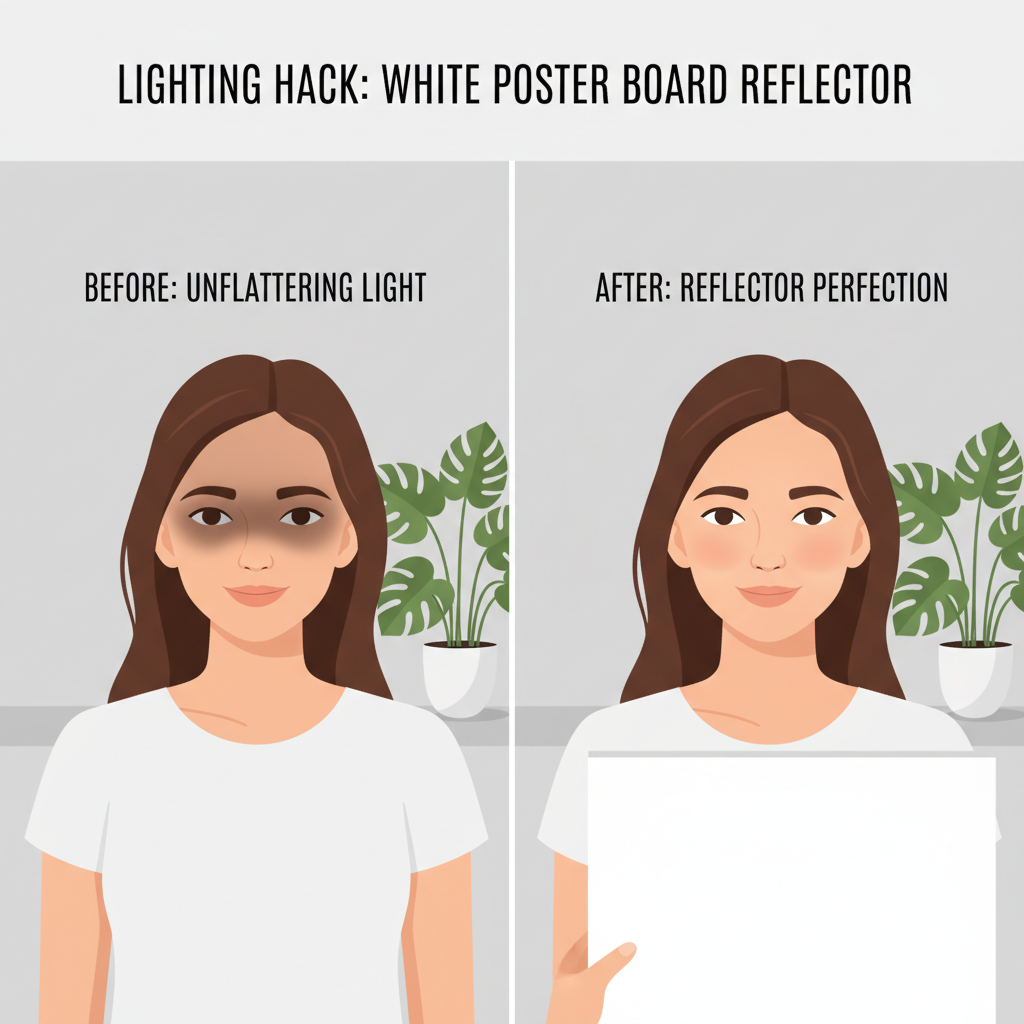
| Move closer to your window - I'm talking 2-3 feet max. The bigger light source fills in those shadows naturally. Works best on overcast days when you're not fighting harsh sun streaks. | White poster board as fill light - Hold it below your face to bounce light up into those eye sockets. Sounds ridiculous but it's magic. I keep one folded behind my desk now. |
| Bathroom mirror trick - Stand facing your bathroom mirror with the window behind you. The mirror becomes a giant softbox reflecting light back onto your face. | Lamp with white shade - Position it low, angled up at 45 degrees. Creates that studio "beauty dish" effect without the $200 price tag. |
Frequently Asked Questions
Does window light really work for professional-looking portraits at home?
Honestly, window light has been my go-to for years and it absolutely works - I've gotten results that rival expensive studio setups just by positioning someone next to a large north-facing window. The key is using a white foam board or even a bedsheet as a reflector on the opposite side to fill in shadows, and you'll get that soft, flattering light that makes everyone look good.
Is it worth buying expensive lighting equipment when you're just starting out with portrait photography?
From what I've seen, you're way better off mastering natural light and maybe grabbing a cheap reflector before dropping hundreds on strobes. I've watched too many people buy fancy lights thinking it'll instantly make their photos better, but they end up with harsh, unflattering results because they never learned the basics - start simple and upgrade only when you actually hit the limits of what you can do.
My Honest Take on Home Portrait Lighting
Here's what I'd do: start with one light and actually practice moving it around your subject. Don't overthink the gear—I've seen amazing portraits shot with a single window and some creativity.
For those ready to dive deeper, three-point lighting setups and color temperature mixing open up a whole new world.


